
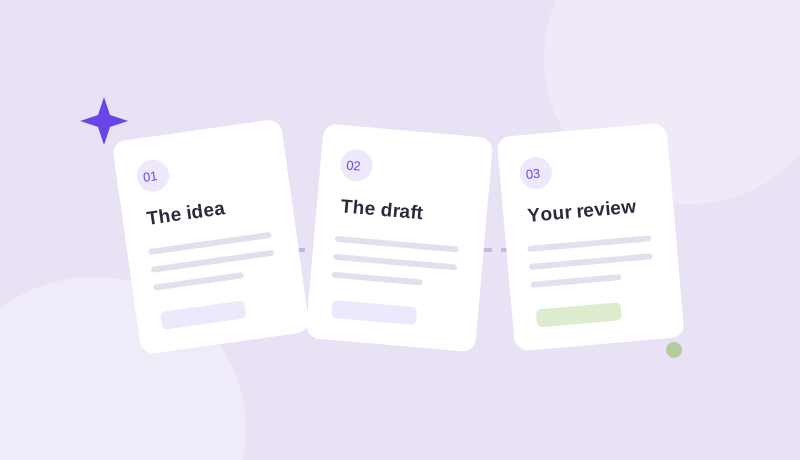
A reliable blog starts with a process you can repeat. When research, drafting, review, and scheduling all compete for the same afternoon, even a good idea can stay unfinished.
Try giving each stage a clear purpose. The following workflow is an editorial starting point you can adapt to a solo business or a client website.
1. Start with a reader, then a brief
Before opening an AI tool, write down who the article is for and what they should be able to do after reading it. “An article about email newsletters” is broad. “Help a local shop owner plan their first monthly newsletter” gives the draft a useful direction.
A short brief can contain:
- Reader: who needs this information, and what do they already know?
- Question: what specific problem will the article answer?
- Evidence: which examples, documents, or first-hand observations can support it?
- Next step: what should the reader do once they understand the topic?
2. Ask for a structure before a full draft
Review the proposed headings before generating a long article. Look for repeated sections, missing explanations, and tangents that do not serve the reader. Removing an unnecessary section now saves editing time later.
Add your own material early: a customer question, an example from a recent project, or a process your team actually uses. Give the draft something specific to work with.
“Write for [reader] who wants to [task]. Answer [question]. Use these verified notes: [notes]. Keep the tone [description]. Flag claims that need evidence instead of inventing sources.”
3. Give the draft a real editorial review
Read once for meaning before you polish individual sentences. Does the article answer the question? Can a beginner follow the steps? Has the draft turned an uncertain point into a confident claim?
Verify factual claims against reliable sources, open cited links, and check that each source supports the sentence beside it. Replace invented examples with your own or label them clearly as hypothetical.
Then edit the language. Remove filler, explain necessary terms, and check that the title accurately describes the article. Read important passages aloud to catch awkward phrasing.
4. Separate “draft ready” from “publish ready”
Give every article a clear status: idea, drafting, review, approved, or scheduled. For client work, decide who can approve the final copy and where that approval is recorded.
Schedule only the reviewed version. Before confirming the time in WordPress, check the website timezone, preview the article on mobile, and verify links and image descriptions. If a draft misses its review window, give it a new slot.
5. Make the next cycle smaller
After publication, note what slowed you down. A missing example, unclear brief, or delayed approval is a process issue you can address before the next article.
Start with one article at a time. A short routine you can keep is a better foundation than a packed calendar you constantly rearrange.
BlogDraft brings drafting, native WordPress editing, and individual scheduling into one workflow. Premium adds recurring draft preparation. Your review is still the step that turns a draft into something worth publishing.
Explore the writing workflow →